


When embarking on the journey of building a new fence, you must learn how to install a fence post correctly. At Bendrey Bros. we understand that this may seem like a difficult task to tackle, so we’ve produced this beginner guide to help you get the job done.
Fence posts are an integral part of your fence, as they act as the backbone. Your posts need to be installed correctly, or you may find that your completed fence is not as sturdy as you intended and may not stand the test of time.
What size of post should I use?
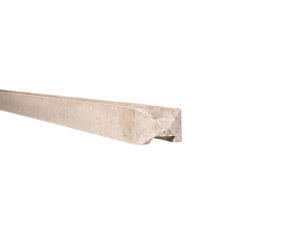
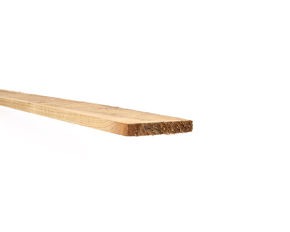
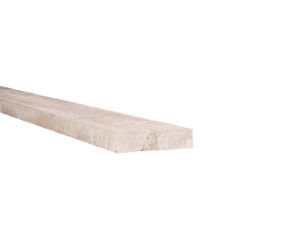
We stock over 40 sizes of wooden fence post, plus a range of concrete posts to choose from, the post size you need is determined by a few factors including:
- The type or style of fence that you’re building;
- The overall fence height;
- The ground conditions; if the ground is soft, you may need a deeper hole than standard;
- If you plan to attach something heavy to the post such as a gate, then you may need to use a larger post than a standard fence post.
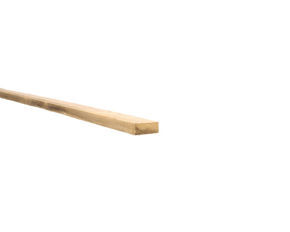
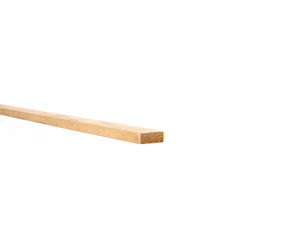
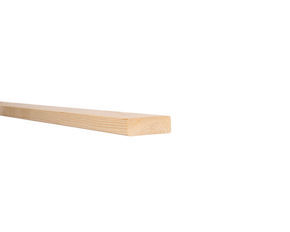
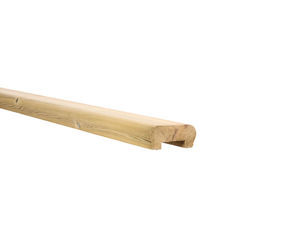
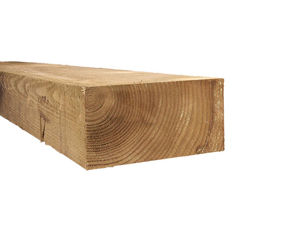
The most popular post sizes for garden fencing are:
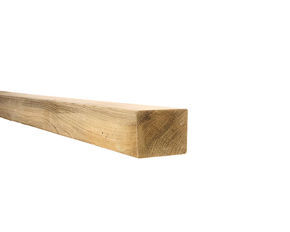
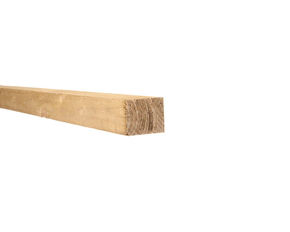
- 75 x 75mm - Suitable for short and lightweight fencing, this size helps your budget go further.
- 100 x 100mm - Suitable for most types of fencing. We recommend this post size as it will give you a good strong fence that can stand up to strong wind.
When choosing the post length; don’t forget to allow enough extra length to set in the ground, keep reading to find out more.
Which materials & tools are needed to install a fence post in the ground?
We have put together a kit list (below) to help prepare you for your project! We recommend these products to make your job as easy as possible, some items are optional.
Materials:
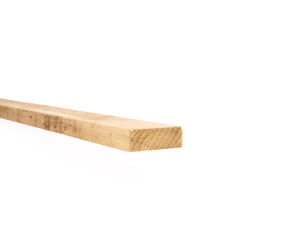
- Fence Post
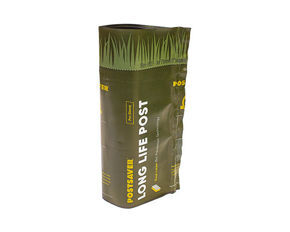
- Post Mix - Typically 1½ to 2 bags per fence post.
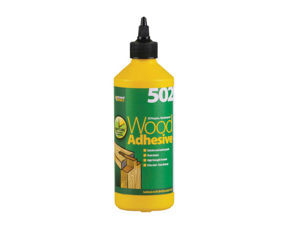
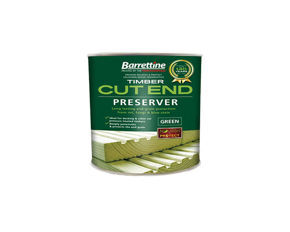
- End grain preservative – Apply this to the timber if you need to cut or drill it.
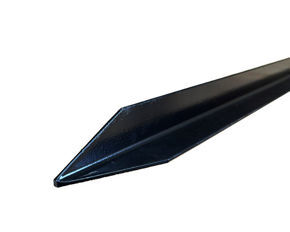
- Postsaver Pro-Sleeve – Optional, recommended.
- Post cap – Optional.
Tools:
- String / Brick Line – Use this to work out the position of your fence and ensure that your fence posts are fitted in a straight line. A string line is also useful when fitting multiple posts to ensure they align at the top.
- Tape measure – For measuring post hole depth, distances between posts etc.
- Line Marker – For marking out post positions on the ground prior to digging.
- Blow torch - To fit Postsavers, or use a 2kW heat gun.
- Fencing Graft – For digging the post hole; this is a strong narrow digging spade; it is fairly weighty which helps to cut into the ground. This is the ideal digging tool to keep the post hole size to a minimum.
- Digging Bar – A heavy metal chisel/pointed bar for breaking through stone, rubble and roots.
- Post Hole Digger – For scooping out the loose soil and debris from the bottom of the post hole.
- Spade or shovel – To bag up the soil that has been dug out.
- Knife - To open bags of post mix.
- Water– Use a hose pipe or get buckets of water to hand, this is to mix with the post mix
- 1.0m metre of sturdy batten – This is used to push the post mix into all the gaps around the post and to help mix with the water.
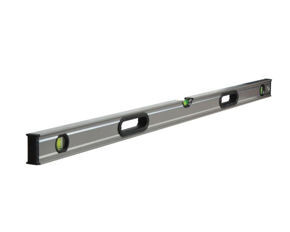
- Post Level or Spirit Level– To ensure the posts are fitted plumb
Step 1. Working out where to position your fence post
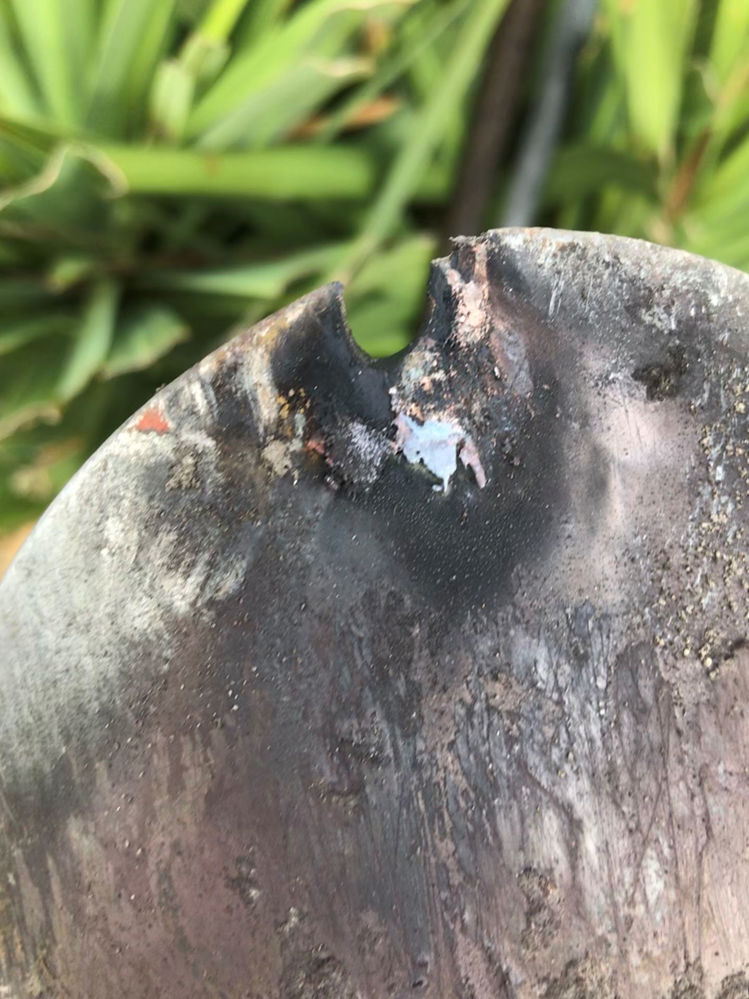
Before you start; to avoid any unwanted surprises, it is advisable to obtain plans showing the location of any cables or pipes buried in your garden. The photos below show a mains cable that was damaged when a post hole was being dug. These cables & gas supply were buried just 250mm below ground in an unmarked trench. Luckily the post hole digger had fibreglass handles, the electrical spark took a good bite out of the post hole digger blade.

If you are building a fence on a boundary that adjoins another property, we recommend checking whether the boundary is owned by you or your neighbour, or it might be shared equally. This information should be in your property deed but isn’t always clear. We recommend that you discuss your plans with your neighbour before building the fence to avoid any disputes after the fence is built.
Step 2. Digging the post hole
When you have checked that there aren’t any utilities near your post positions, you’re ready for step to on how to install a fence post - digging!
If the ground is firm and not recently disturbed then we recommend digging the post hole slightly larger than the post, the narrower the better. The minimum hole size is dictated by the size of your fence post digging tools. If you use our recommended tools, you should be able to dig a fairly narrow hole which will reduce the amount of soil that you need to dig out and dispose of, it also minimises the amount of post mix needed to fill the hole back in.
The depth of the hole you need to dig is determined by a number of variable factors:
- The condition of the soil: If the soil is soft you may need to dig deeper.
- The height of the post / fence: A tall fence will need deeper post holes, to prevent the posts being pushed over by wind.
- What is the post going to support? If you’re fitting something heavy like a gate, you may need to dig deeper.
- Wind exposure: In windy, exposed areas you may need to dig deeper post holes.
Our recommendation for a typical garden fence post, in normal conditions; you should aim for a minimum post hole depth of 450mm (18”), preferably 600mm (24”), the deeper the better.
For extra high fences and for fences in windy areas, you may need to dig a deeper hole. If the soil is soft, you need to dig down far enough to get to solid ground, otherwise in windy conditions the fence post will begin to rock from side to side, which will lead to future problems.
Bear in mind that when digging with hand tools it becomes impractical to dig a narrow post hole any deeper than about a metre, at this depth it becomes difficult to scoop the soil from the bottom of the hole. If a deeper hole is needed then you may need to use a mechanical fencing auger.
While you are digging, frequently check the post fits in the hole. Check that you are digging in the right place and haven’t gone off course. Make sure the post is still in alignment by checking it against your string line, also check that the hole allows the post to be fitted perfectly plumb, as it can be easy to accidentally dig at an angle, especially on sloping ground or if you have had to dig out large stones.
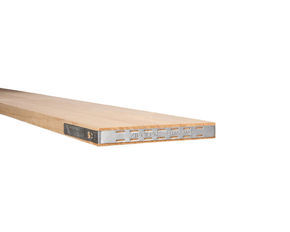
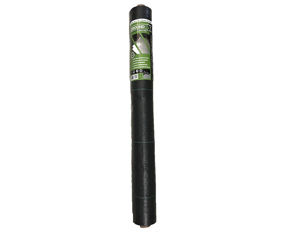
Step 3. Fitting the Postsaver Pro-Sleeve (optional)
Postsaver Pro-Sleeves are a cost effective way to prolong the life of wooden fence posts. The video below explains how to install Postsaver sleeves.
Step 4. Installing the fence post
When you have finished digging your post hole; place the post into the hole, check that the post lines up with your string line and check that it will stand up straight and in line with your other posts. Check that the post it is going to be in the correct position to suit your panel and gravel board (if applicable).
You are now ready to set the post in the ground with post mix. Post mix sets quickly! When mixed with water it becomes firm between 1-2 minutes, and will be solid within 5-10 minutes. To avoid making a mistake, you need to be ready to work fast and have everything you need to hand:
- Attach your post level to the post, or get your spirit level ready to use
- Get two bags of post mix open and ready to use
- Get your water ready, either a hose pipe or a few buckets
- Get your piece of batten ready to poke / podge the post mix
Half fill the hole with water, then pour the post mix into the hole. Ensure the post doesn’t accidentally move when you pour in the post mix. Continually check the post is plumb and square to the string line.
Hold the post in the correct position until the post mix becomes firm. Top up the hole to about 25mm (1 inch) from the top of the post hole with dry post mix, then you can cover the hole with soil.
After 10 minutes your new post will now be solid enough to attach your fence panel, fence rails and gravel board with screws or nails.
Use the empty post mix bags to bag up excess soil, ready for disposal.
Buying our products
I hope this guide has helped and if you’ve found this interesting, we have future beginner guides in the pipeline. If you have a question or want some specific advice, please give us a call on 0117 967 4382.
You can take a look at our products online, and if you’d like to set up an account then please don’t hesitate to contact us!
Author
Alex Bendrey
Director at Bendrey Brothers Ltd

