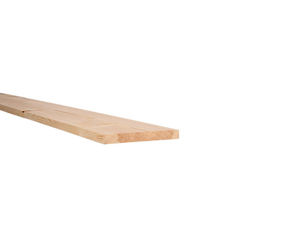


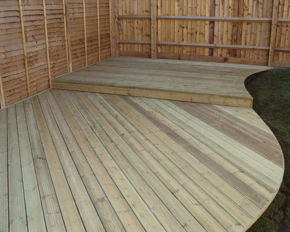
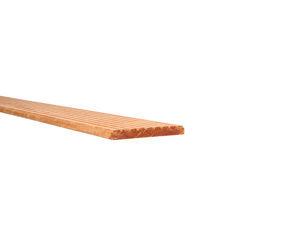
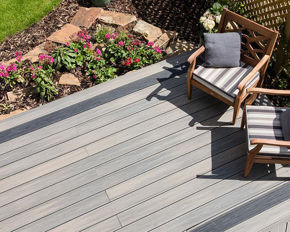


HD Deck® Dual - Fitting Guide
It is recommended that Composite Prime HD Deck® Dual is installed as per this fitting guide, paying special attention to steps 1, 3 & 5.
Click here to view a printable version of this fitting guide.
Note : *when using more than one pack on a project please install mixing packs together to ensure a random distribution of colour variation
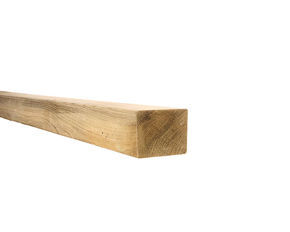
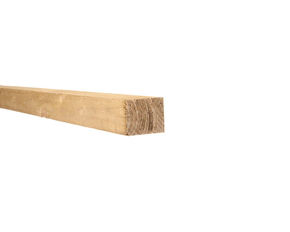
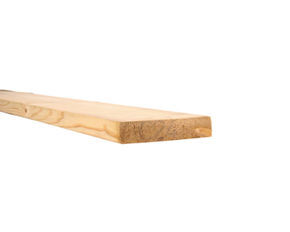
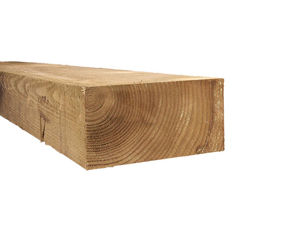
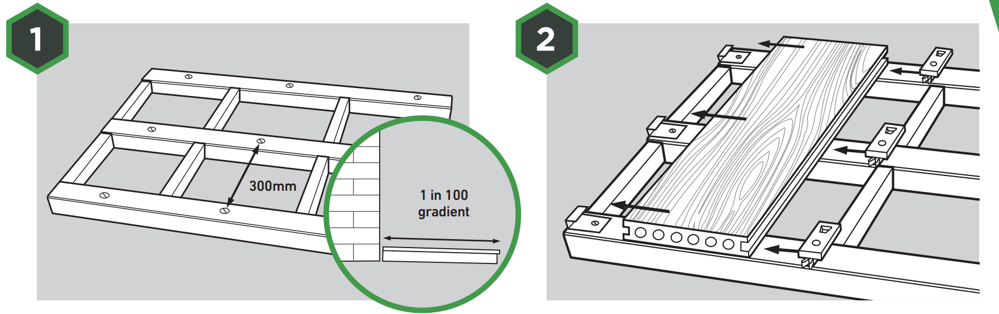
1) We recommend using treated 47x100mm or 47x150mm timber joists and building in a gradual gradient of at least 1 in 100 (1%) that runs away from any adjoining buildings. Boards should run lengthways down this gradient to help water naturally disperse.
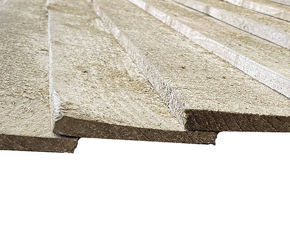
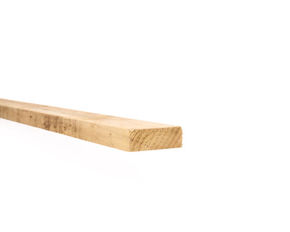
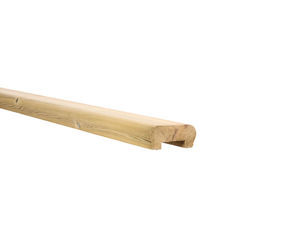
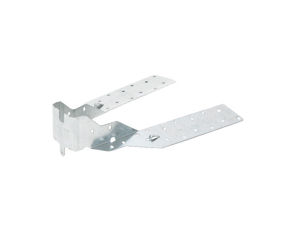
IMPORTANT: Spacing between the joists should be no greater than 300mm centre to centre. You can position your joists quickly & accurately by using our 255mm pre-cut noggins. Double joists should be installed wherever joins will occur (see image 5).
We recommend adding HD Protect™ Premium Joist Tape to the top and exposed ends of the timber to protect it from moisture that can cause rot and loosening of screws. You should also retreat cut ends with cut end preserver.
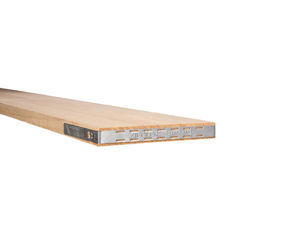
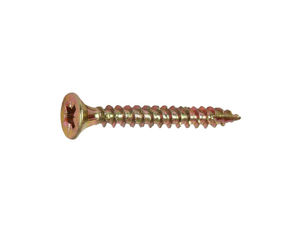
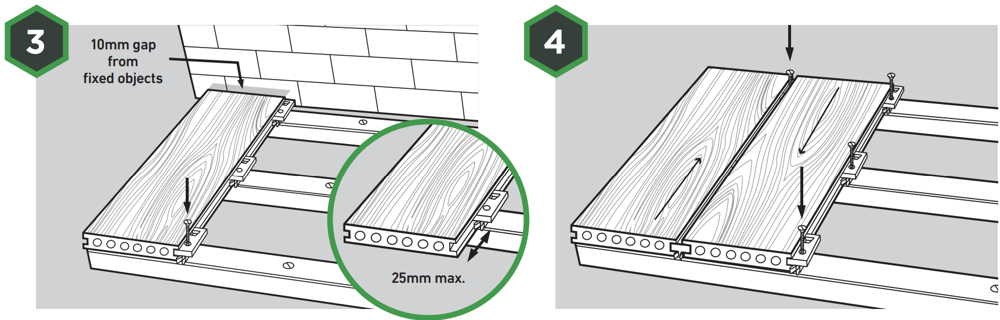
2) Place the first piece of decking on the timber frame with the decking running perpendicular to the joists. The first decking board should be secured using one starter clip & screw on every joist. Do not screw or nail through HD Deck® Dual.
If using the bullnose board to start the decking, please refer to the Installing the bullnose section of this guide.
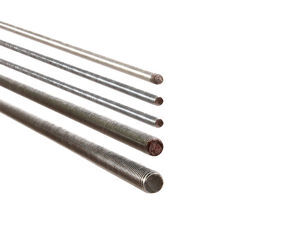
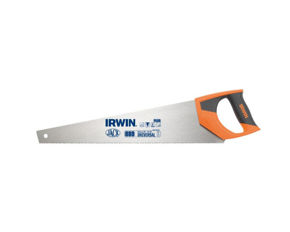
When cutting HD Deck Dual, always saw the board face up with a new fine-toothed blade to prevent dragging that can cause furring and split ends after installation. If making a large number of cuts, the blade should be replaced regularly.
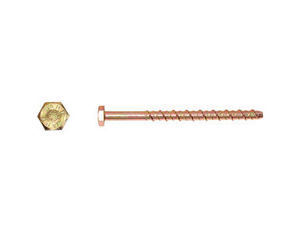
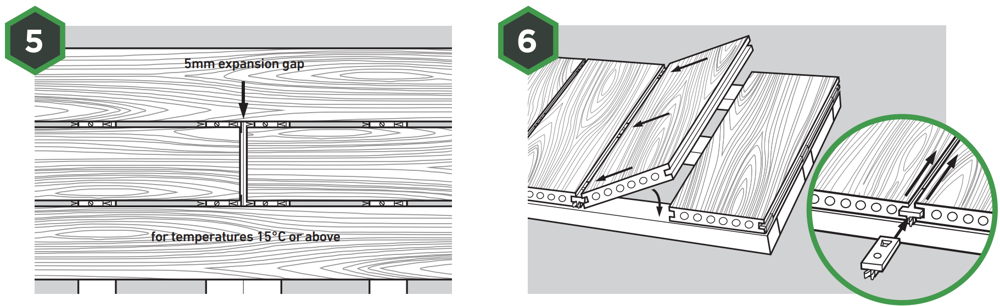
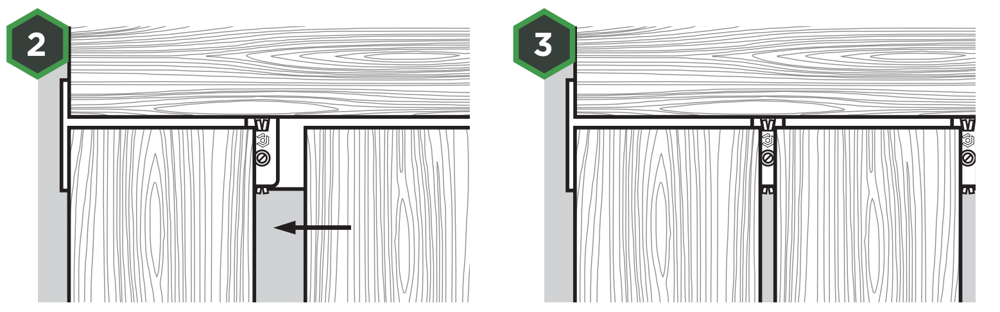
3) To secure the other side of the first board, use one Universal Clip and screw on every joist. Take a screw, place in the hole located in the Universal Clip and screw into the wooden joist. Do not tighten at this stage. Make sure the boards do not overhang the joist at the edge by more than 25mm and a 10mm expansion gap should be left between the wall or other fixed objects surrounding the deck.
4) Take the next piece of decking and securely push into the Universal Clips. Now nip the screw to secure the Universal Clip against the board. Do not over tighten. Now repeat steps 3 and 4 to cover the deck, using one Universal Clip and screw on every joist. For a more natural finish, we recommend alternating the direction of the wood grain when installing the boards. If using the bullnose board, use this as your starting point.
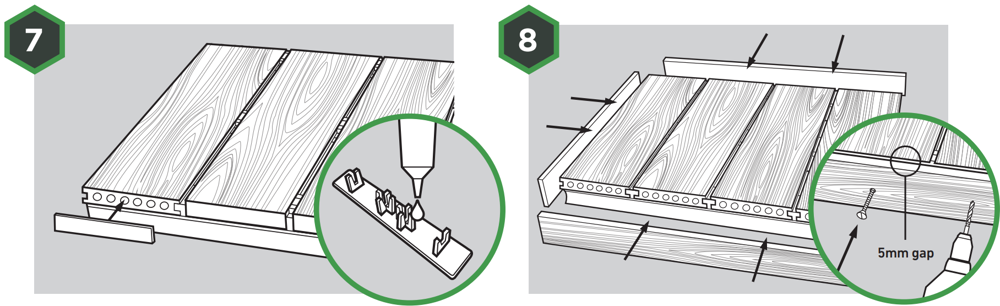
5) IMPORTANT: Do not allow deck boards to meet at the ends. When installing in temperatures of: - 15˚C or above allow a 5mm gap for expansion. - Between 10-15˚C allow a 6mm gap for expansion. - Between 5-10˚C allow a 7mm gap for expansion. Do not install in temperatures below 5˚C. Joins should only occur over double joists with a Universal Clip securing each end.
6) To fit the final boards, first measure the width of the final two boards to find out where the outer edge of the final board will lie. Using these marks, fit starter clips and slot the final board into place. Now insert the penultimate board, slide down the required number of Universal Clips and screw these into place.
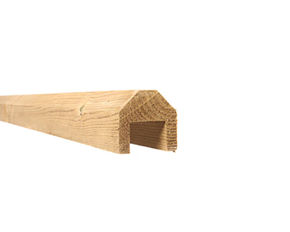
7) If using end caps, apply a high quality grab adhesive to the end caps to secure for extra adhesion. Wipe away any excess from the edge of the cap.
8) If using fascia, drill pilot holes with counterbore through the fascia at 200-300mm intervals. According to ambient temperature allow a 5-7mm gap between end of deck board and the fascia. Screw fascia to the joist. Always screw fascia to the joist at a 90° degree angle.
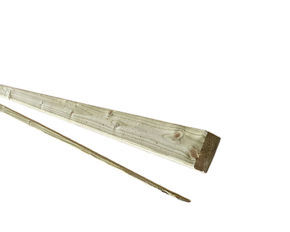
Installing the Bullnose
It is recommended that HD Deck® Dual bullnose deck board is installed as per this fitting guide, paying special attention to the following steps. NOTE: HD Deck® Dual bullnose is 150mm wide. TIP: Check the grain direction of the bullnose before arranging the rest of the deck.
For an overhang finish
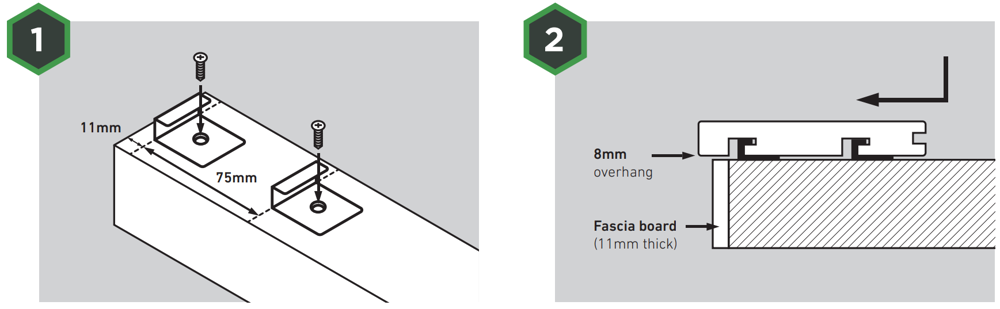
1) Place two starter clips as shown above, and secure in place with the respective screws. Ensure that the spacing measurements are correct.
2) Insert the HD Deck® Dual bullnose deck board over the clips and push it forward. Secure in place with Universal Clips as required.
For a flush finish
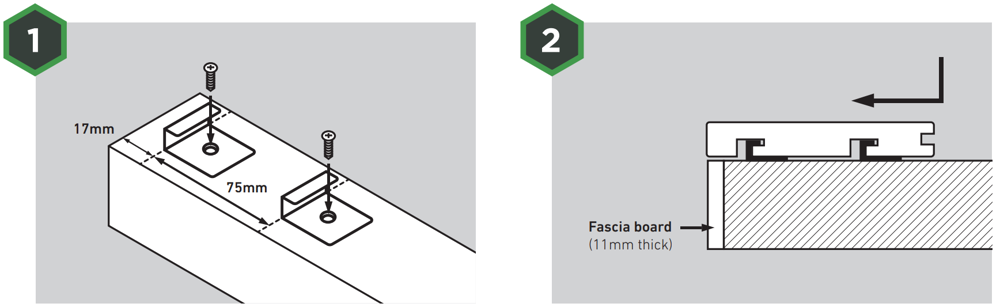
1) Place two starter clips as shown in the above diagram and secure in place with the respective screws. Ensure that the spacing measurements are correct.
2) Insert the HD Deck® Dual bullnose deck board over the clips and push it forward. Secure in place with Universal Clips as required.
Borders & Steps
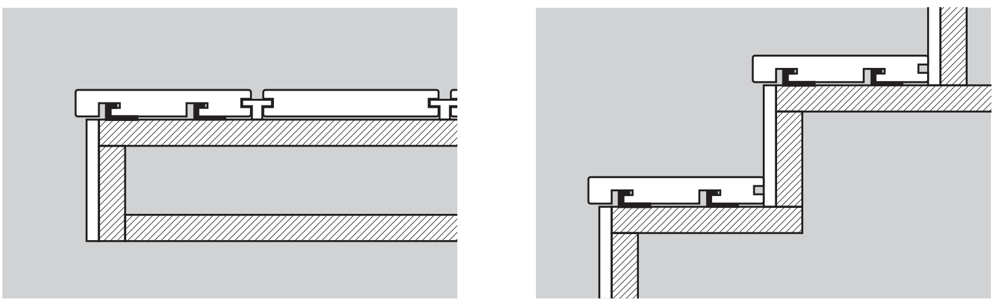
Borders: After installing the HD Deck® Dual bullnose deck board, as per the above instructions, use the Universal Clip to secure to the rest of the deck. See Using the New Universal Clip overleaf.
Steps:Install the HD Deck® Dual bullnose deck board as per the above instructions, leaving a gap behind the board to enable you to fit the fascia.
Using The Universal Clips on Borders
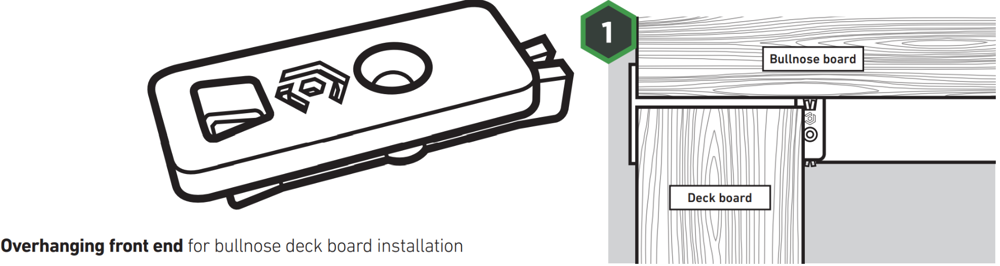
It is recommended that HD Deck® Dual is installed using the Composite Prime Universal Clip. This clip is designed to enable you to also fit the HD Deck® Dual bullnose deck board and create designs where the boards are fitted at right angles to each other.
1) Insert the Universal Clip as shown in the diagram with the front of the clip positioned in the groove of the secured bullnose deck board.
2) Screw the Universal Clip to the joist, then securely push the next deck board in place.
3) Repeat this process for the remaining deck boards, making sure the fronts of all the Universal Clips are firmly in the groove of the bullnose deck board.
Composite Prime Care & Maintenance Guidelines
Care Guidelines
Even though HD Deck® Dual is a low maintenance product periodic cleaning is recommended, even if your HD Deck appears clean it is important to prevent the build-up of pollen & debris that can cause mould growth.It is recommended that furniture placed on HD Deck® Dual is fitted wth rubber or felt feet to prevent unnecessary scrapes.
Weathering
During the first 6 - 12 months the colour pigments will stabilise, during this time fading may occur before weathering naturally.
Cleaning Guidelines
Domestic pressure washers may be used with caution in conjunction with the spray nozzle. Pressure washers can be used to remove stains, ground-in dirt & chalk. Keep a distance of at least 1ft (300mm) between the nozzle & the deck to prevent damage to the deck.If unsure about the product being used to clean / remove stains from your deck, it is always recommended that you test a small area in an inconspicuous place to determine if the cleaning product will cause any unwanted discolouration.
Dirt, debris & watermarks
Clean the decking to remove dirt or debris by using soap, hot water & a stiff bristle. Rinse thoroughly.
Mould & Mildew
Use an organic patio cleaner such as Algon or a sodium percarbonate oxygen activated bleach. Ensure all detergent is washed off after use.
Chalk Markings
Scrubbing the area with hot soapy water may dislodge some of the chalk. Rinse thoroughly.
Ice & Snow
Calcium chloride or rock salt will melt ice on decking. Rinse thoroughly when practical.
Rust Stains, Ground-in Dirt & Grime
Use a cleaning product containing oxalic or phosphoric acid base to lighten or remove the rust or dirt. Product may need to sit on stain 10 - 15 minutes. Rinse thoroughly.
Oil & Grease Stains
Scrub in a household-degreasing agent as soon as the stain occurs. Rinse thoroughly with warm water.
Berries & Wine Stains
Mix an eco friendly sodium percarbonate bleach in hot water. Scrub the stain lightly and immediately rinse the area thoroughly. Note: Using too much bleach may cause lightening of the deck colour. The stain may not disappear entirely.
Please Note: Images and drawings are for illustrative purposes only. HD Deck® Dual may be laid in a variety of patterns, we recommend that you draw out how you would like your deck to appear, making notes of joins and joists before starting the installation. For elevated decks greater than 600mm (0.6m) in height we recommend using a professional installer. When cutting, always saw the board face up with a new fine-toothed blade to prevent dragging that can cause furring and split ends after installation. If making a large number of cuts, the blade should be replaced regularly. Don’t forget to register your warranty, within 45 days of purchase, at www.composite-prime.com/register-warranty.![]()
Payment options

