


Composite Prime HD Deck XS Fitting Guide
You must install HD Deck® XS as specified in this fitting guide, paying special attention to steps 1 & 6. Don't forget to register your warranty with Composite Prime within 45 days of purchase.
Click here to view a printable version of this fitting guide.
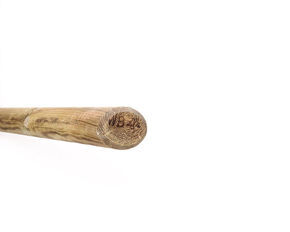
Please note: *when using more than one pack on a project please check batch numbers to ensure all product is from same batch.
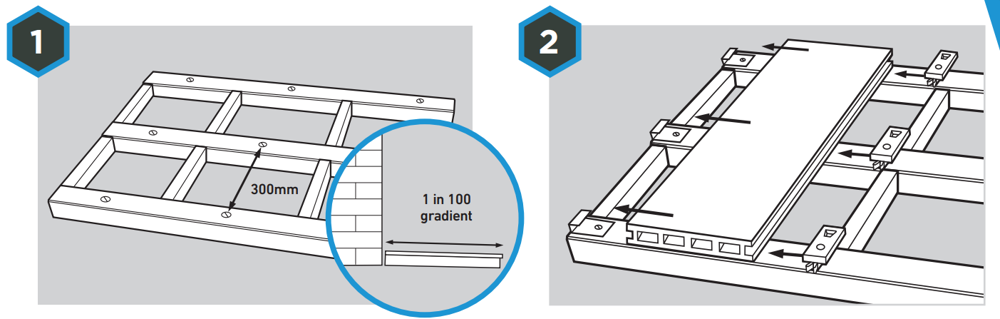
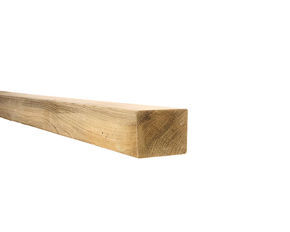
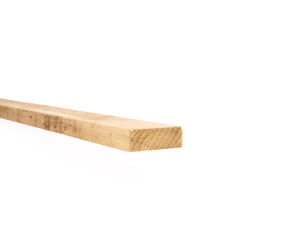
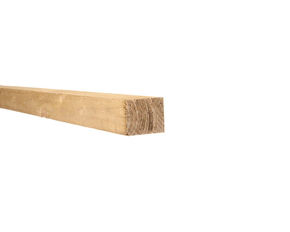
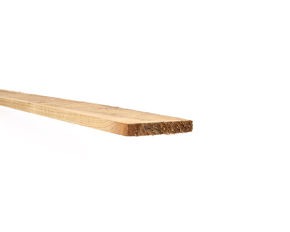
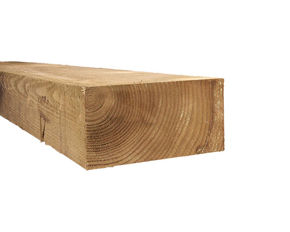
Step 1.We recommend using treated 47x100mm or 47 x 150mm timber joists and building in a gradual gradient of at least 1 in 100 (1%) that runs away from any adjoining buildings. Boards should run lengthways down this gradient to help water naturally disperse.
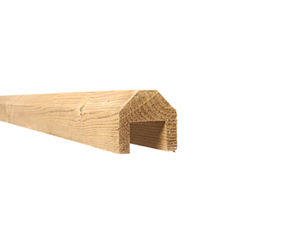
IMPORTANT: Spacing between the joists should be no greater than 300mm centre to centre. You can position your joists quickly & accurately by using our 255mm pre-cut noggins. Double joists should be installed wherever joins will occur (see image 5).
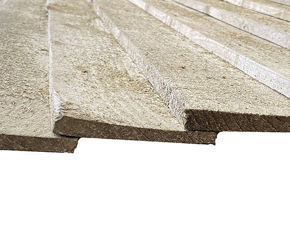
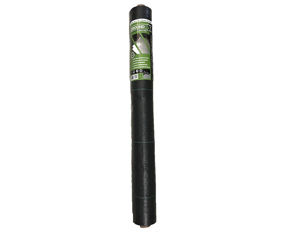
Step 2.We recommend adding HD Protect™ Premium Joist Tape to the top and exposed cut ends of the timber to protect it from moisture that can cause rot and loosening of screws. Place the first piece of decking on the timber frame with the decking running perpendicular to the joists. The first piece of deck may be secured with starter clips. Do not screw or nail through HD Deck® XS, use one Universal Clip and screw on every joist.
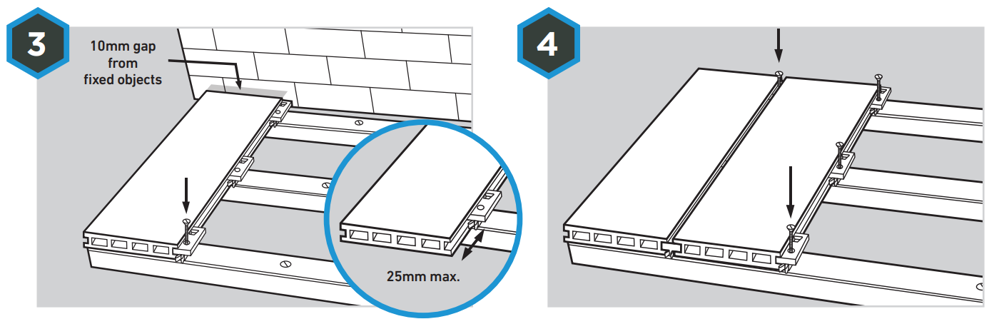
Step 3.To secure the first board, use one Universal Clip and screw on every joist. Take a screw, place in the hole located in the Universal Clip and screw into the wooden joist. Do not tighten at this stage. Make sure the boards do not overhang the joist at the edge by more than 25mm and a 10mm expansion gap should be left between the wall or other fixed objects surrounding the deck.
Step 4.Take the next piece of deck and securely push into the Universal Clips. Now nip the screw to secure the Universal Clip against the board. Do not over tighten. Now repeat steps 3 and 4 to cover the deck, using one Universal Clip and screw on every joist.
Cutting Note:When cutting, always saw the board face up with a new fine-toothed blade to prevent dragging that can cause furring and split ends after installation. If making a large number of cuts, the blade should be replaced regularly.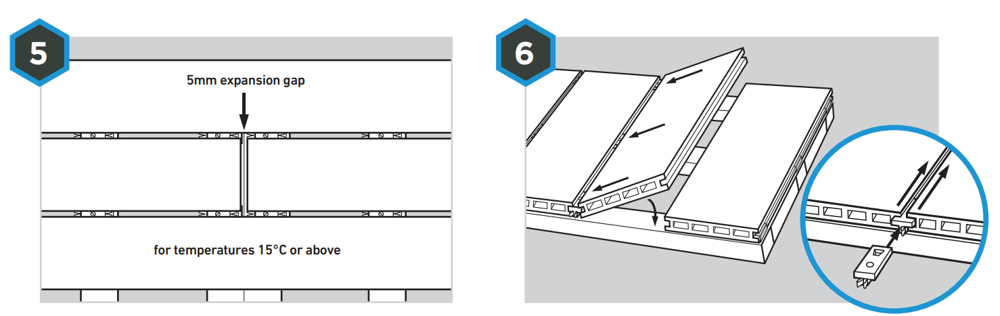
IMPORTANT: Do not allow deck boards to meet at the ends. When installing in temperatures of: - 15˚C or above allow a 5mm gap for expansion. - Between 10-15˚C allow a 6mm gap for expansion. - Between 5-10˚C allow a 7mm gap for expansion. Do not install in temperatures below 5˚C. Joins should only occur over double joists with a clip securing each end.
Step 5 & 6:To fit the final boards, first measure the width othe final two boards to find out where the outer edge of the final board will lie. Using these marks, fit starter clips and slot the final board into place. Now insert the penultimate board, slide down the required number of Universal Clips and screw these into place.
Step 7.If using end caps, apply a high quality grab adhesive to the end caps to secure for extra adhesion. Wipe away any excess from the edge of the cap.
Step 8. If using fascia, drill pilot holes with counterbore through the fascia at 200-300mm intervals. According to ambient temperature allow a 5-7mm gap between end of deck board and the fascia. Screw fascia to the joist. Always screw fascia to the joist at a 90° degree angle.
![]()
Payment options

